


How to Replace a Protective Lens in a Laser Cutting Machine
Introduction
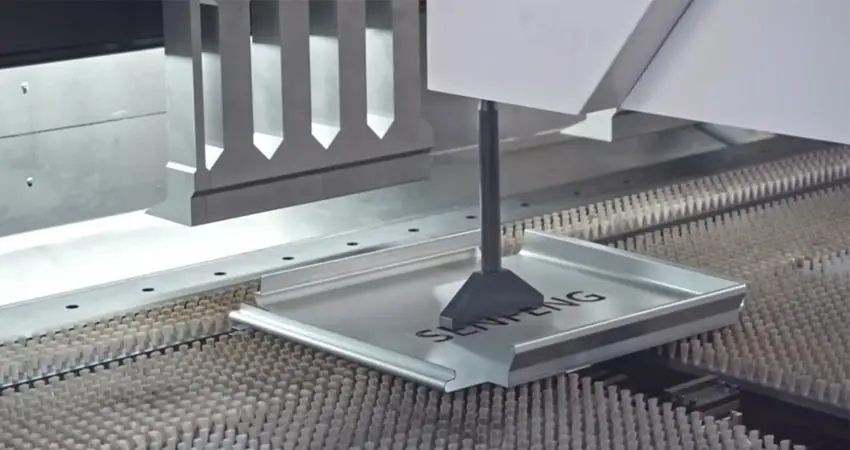
The protective lens is one of the most critical consumable components in a laser cutting head. It protects internal optics from dust, spatter, and debris generated during the cutting process.
Overtime, the lens can become contaminated, scratched, or burned, leading to:
- Poor cutting quality
- Reduced efficiency
- Beam distortion
- Potential damage to internal components
A laser cutting head typically contains both upper and lower protective lenses–and they serve different roles.
- Lower protective lens: directly exposed to cutting area, most frequently replaced
- Upper protective lens: protects internal optics from fine dust and secondary contamination
Understanding how to replace both correctly is key to maintaining long-term performance and avoiding hidden damage.
I. When Should You Replace the Protective Lens?
You should replace the protective lens if you notice:
- Visible dust or contamination
- Burn marks or discoloration
- Declining cutting quality
- Unstable cutting performance
- Advanced insight:
If your lower protective lens becomes dirty very frequently, the issue may not be external–it often indicates that the upper protective lens is already compromised.
II. Before You Start: Know the Difference
Before replacing the lens, it’s important to understand the structural difference:
| Type | Position | Risk Level | Replacement Frequency |
| Lower Lens | Near nozzle | High contamination | Frequent |
| Upper Lens | Inside cutting head | High sensitivity | Less frequent but critical |
- Key takeaway:
Replacing the lower lens is routine maintenance.
Replacing the upper lens is precision maintenance–mistakes here can affect the entire optical system.
III. Tools Required
- Absolute ethanol alcohol
- Dust-free wipes
- Lint-free cloth
- Cotton swabs
- Hex wrench
- Dust-free finger cots (nitrile gloves)
- Masking tape
IV. Step-by-Step Replacement Procedure
1. Lower Protective Lens Replacement (Routine Maintenance)
Video guide:
The lower protective lens is exposed to harsh cutting conditions and requires frequent replacement.
Step 1: Clean and Prepare Your Hands
Wash and dry your hands thoroughly to prevent contaminating optical components.
Step 2: Clean the Work Area
Use alcohol spray to remove airborne dust, reducing the risk of contamination during replacement.
Step 3: Clean the Cutting Head Exterior
Wipe the cutting head surface with alcohol wipes to remove dust and particles.
Step 4: Dry All Surfaces
Ensure all areas are completely dry before opening the lens cover.
Step 5: Seal the Nozzle Opening
Cover the nozzle opening with masking tape to prevent dust from entering the cutting head.
Step 6: Open the Lens Cover and Remove Holder
Carefully open the protective cover and remove the lens holder.
Step 7: Inspect the Lens
Check for dust, burn marks, or scratches under proper lighting.
Step 8: Remove the Retaining Ring
Carefully remove the retaining ring from the lens holder.
Step 9: Remove the Old Lens
Take out the contaminated lens without touching the optical surface.
Step 10: Install the New Lens
Hold the new lens by its edges and place it into the holder.
Step 11: Reassemble the Lens Holder
Secure the retaining ring and reinstall the holder into the cutting head.
Step 12: Seal and Secure
Close the cover and tighten all screws to ensure proper sealing.
Key Point:
For lower lens replacement, the priority is preventing direct contamination and ensuring proper sealing.
2. Upper Protective Lens Replacement (Precision Operation)
Video guide:
The upper protective lens requires stricter handling due to its proximity to internal optics.
Step 1: Wear Protective Gloves
Use nitrile gloves or finger cots to avoid fingerprints and oil contamination.
Step 2: Pre-Clean the Surrounding Area
Clean the area around the upper lens using lint-free cloth and alcohol.
(Note: This prevents dust from entering the optical cavity once it is opened.)
Step 3: Clean All Tools
Wipe the hex wrench and screwdriver with alcohol to avoid introducing microscopic contamination.
Step 4: Remove the Upper Lens Assembly
Loosen screws using a hex wrench and carefully remove the lens assembly.
Step 5: Immediately Seal the Opening
Seal the exposed opening with masking tape right after removal.
(Note: This is critical to prevent airborne dust from entering internal optics.)
Step 6: Disassemble the Lens Holder
Use a screwdriver to remove screws from the retaining cap.
Step 7: Remove the Lens
Wear finger cots, remove the retaining cap, and carefully take out the lens.
Step 8: Install the New Lens
Install the new lens and secure it with the retaining cap.
Step 9: Reinstall the Assembly Quickly
Remove the tape and reinstall the lens assembly immediately to minimize exposure time.
Step 10: Final Sealing
Tighten all screws and ensure the assembly is fully sealed.
(Key Point:For upper lens replacement, the priority is minimizing exposure time and preventing internal contamination.)
V. Best Practices for Lens Maintenance
- Always work in a clean environment
- Minimize exposure time when opening the cutting head
- Never touch optical surfaces
- Inspect both upper and lower lenses regularly
- Keep spare lenses sealed
VI. Common Mistakes to Avoid
- Only replacing the lower lens while ignoring the upper lens
- Opening the lens cavity without cleaning
- Leaving the opening exposed too long
- Reinstalling contaminated components
- Improper sealing after installation
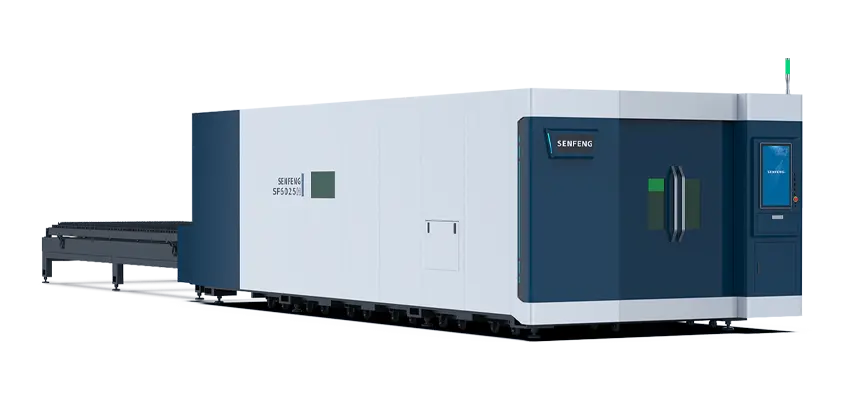
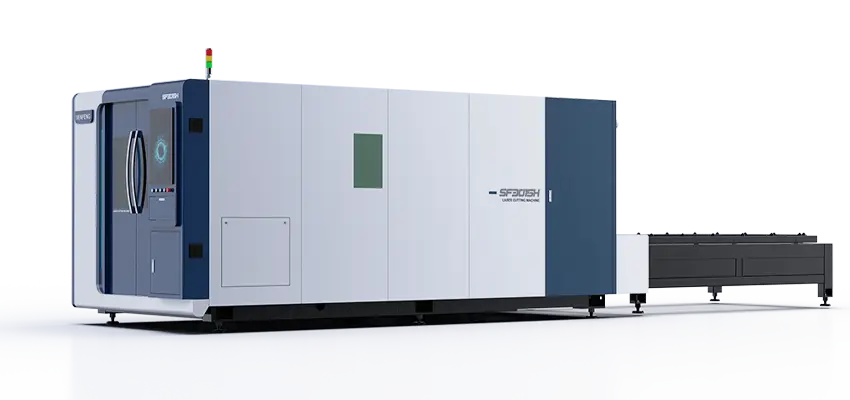
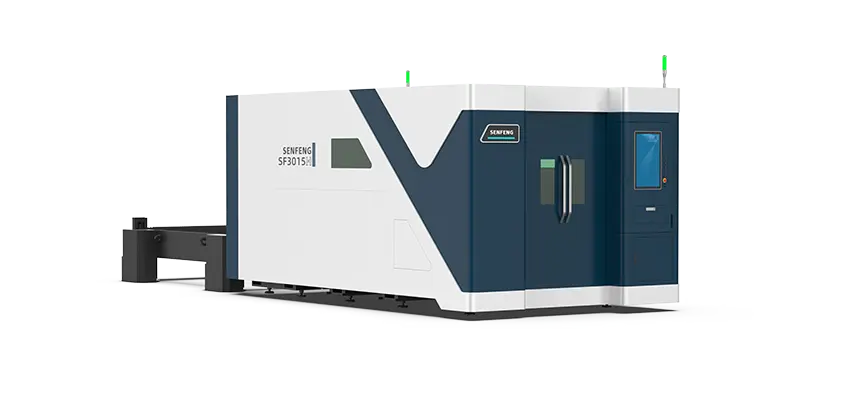
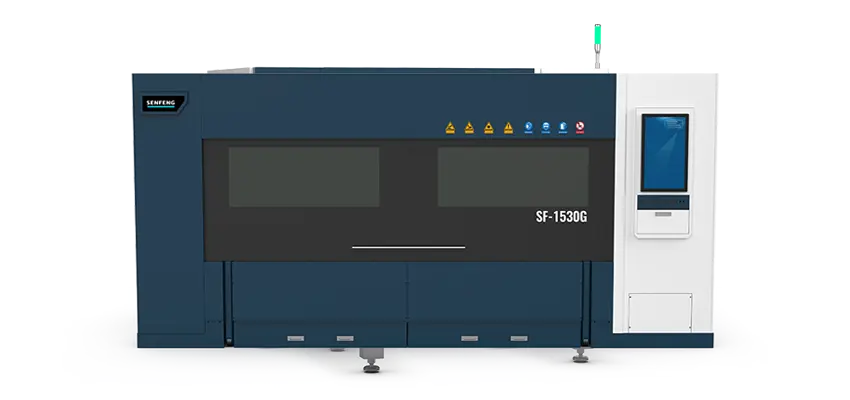
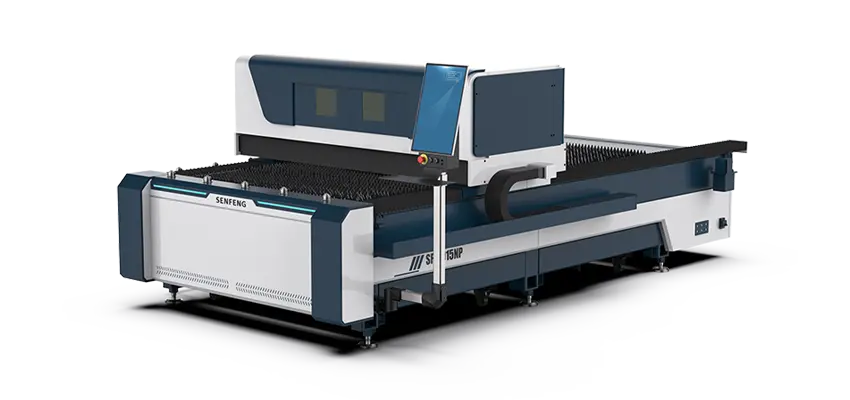
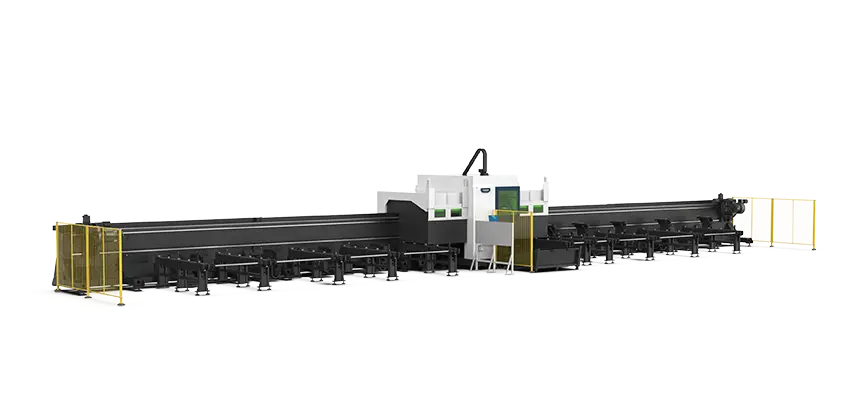
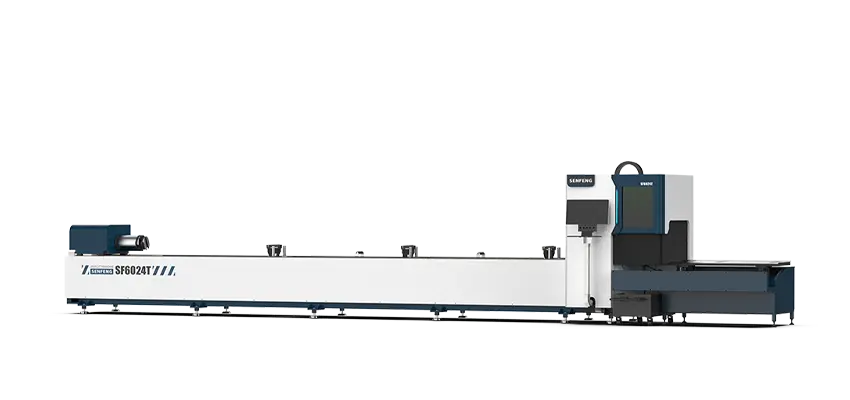
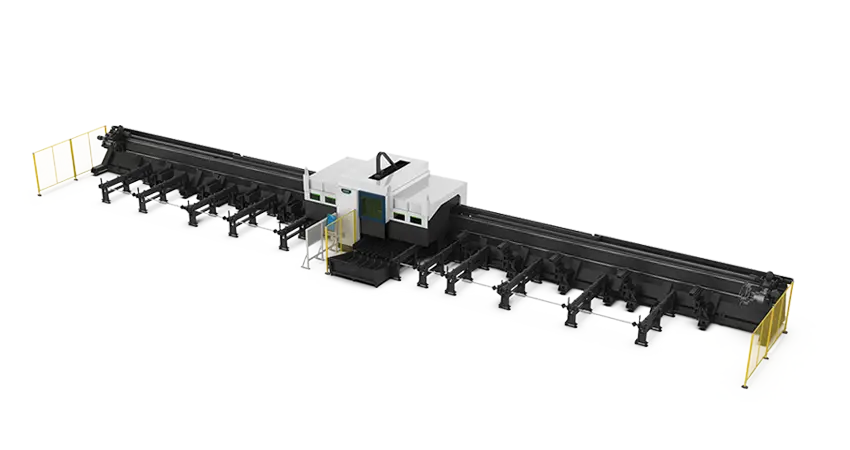
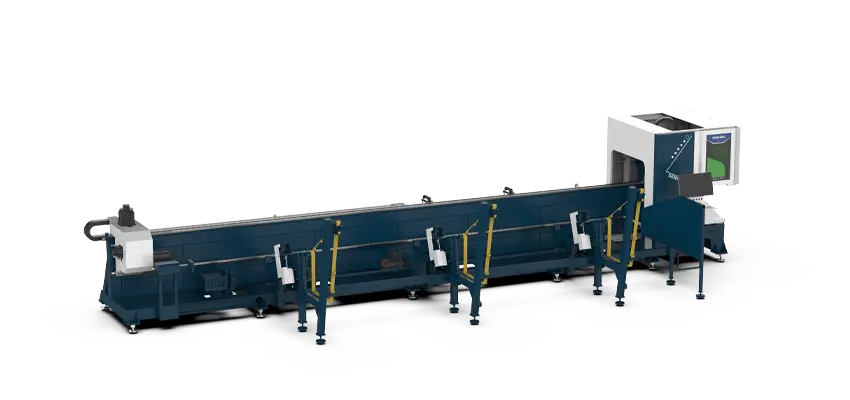
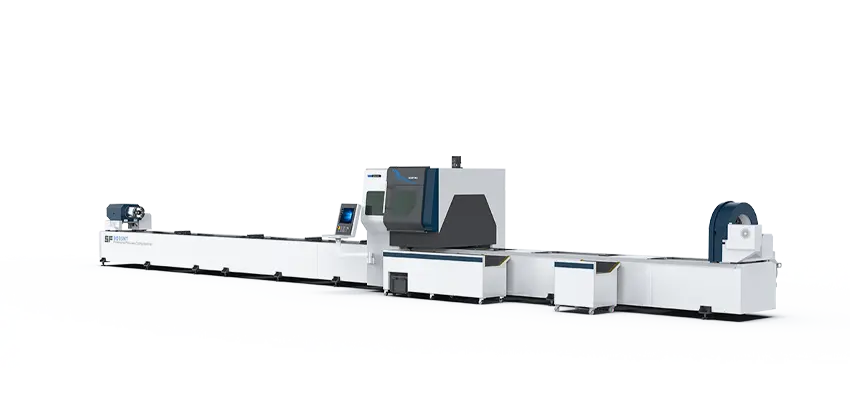
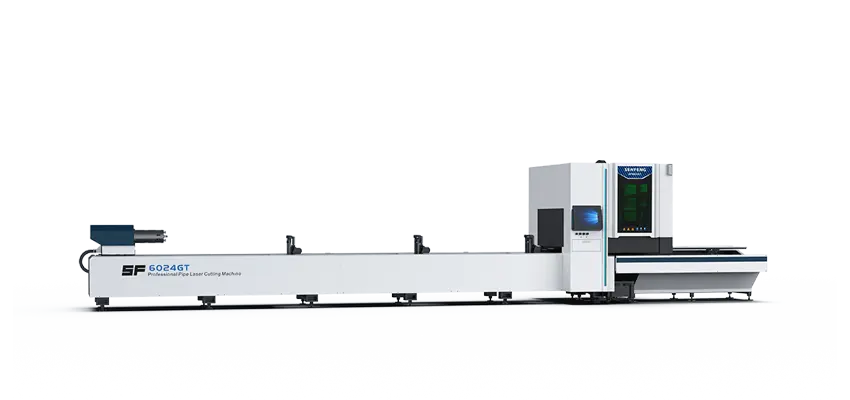
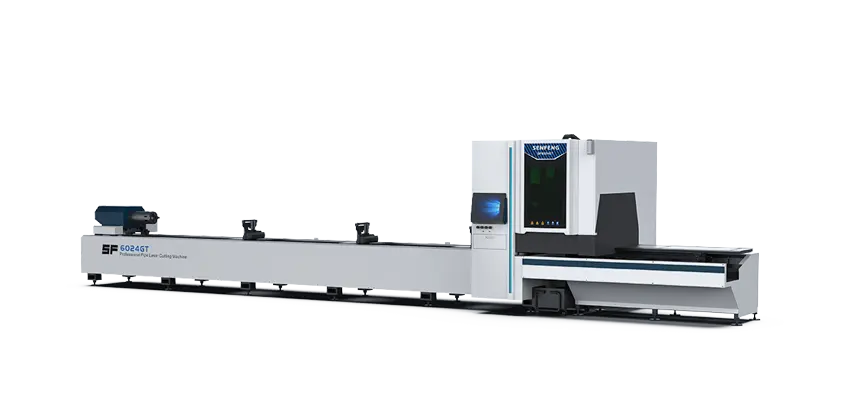
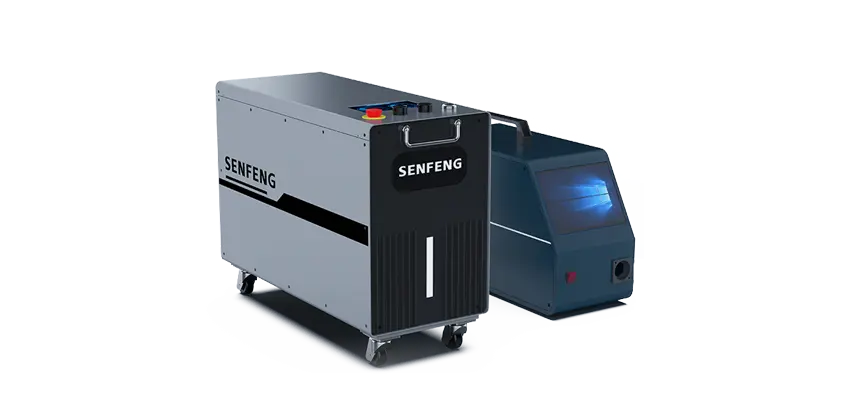
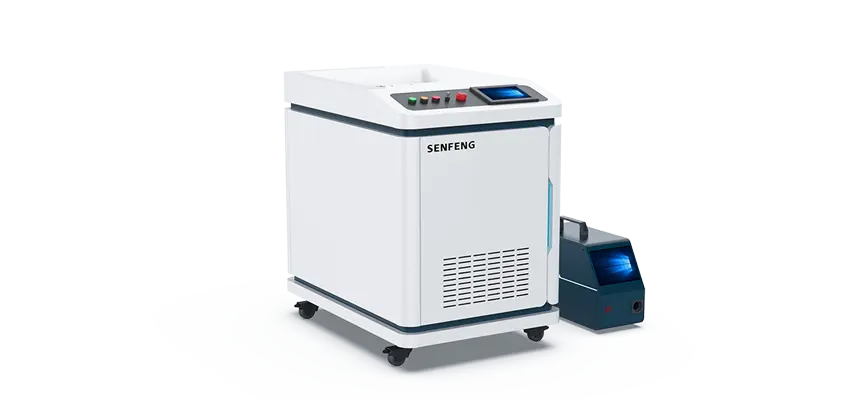
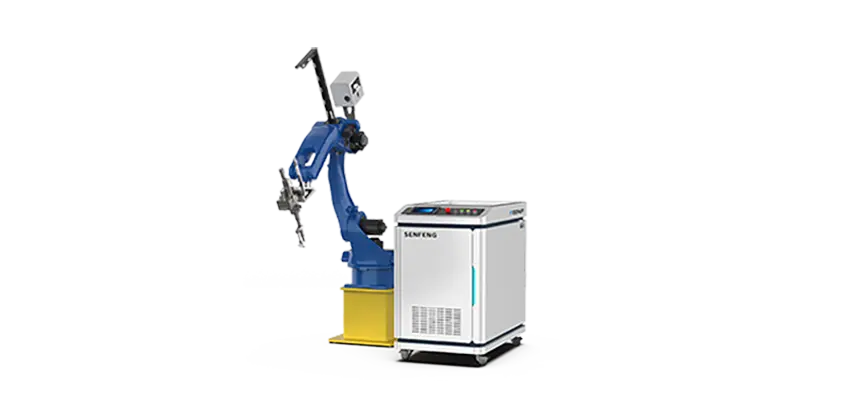
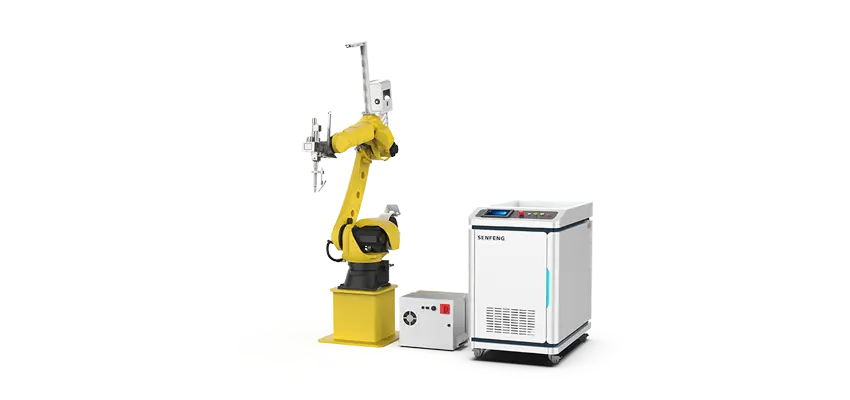
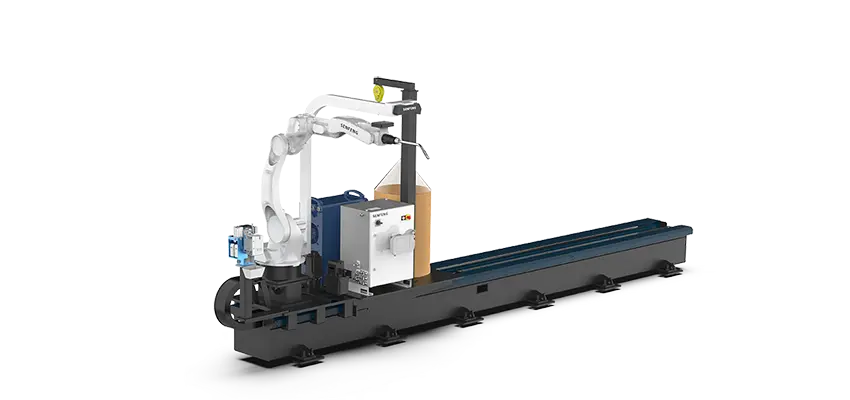
VII. Recommended Laser Cutting Machine
Choosing the right laser cutting machine can significantly reduce maintenance frequency and improve overall cutting performance.
Modern fiber laser cutting machines are designed with optimized optical protection structures, making protective lens replacement easier, faster, and safer. In addition, selecting a machine that matches your production requirements—such as material type, thickness, and automation level—plays an important role in long-term operational efficiency.
If you are evaluating different options, it is helpful to understand the key factors involved in the selection process, including machine configuration, working table type, and cutting capabilities. You can refer to this detailed guide to learn more:
How to Choose a Laser Table Cutter: A Complete Guide
Conclusion
Protective lens replacement is not just a routine task–it is a critical process that directly affects cutting quality and machine lifespan.
The key difference lies in this:
- Lower lens–frequent, exposed, easier
- Upper lens–sensitive, internal, requires precision
Understanding both–and handling them correctly–allows you to:
- Reduce maintenance costs
- Prevent hidden optical damage
- Maintain consistent cutting performance
FAQ
1. Do I need to replace both upper and lower lenses?
Not always, but both should be inspected regularly.
2. Why does my lower lens keep getting dirty?
This often indicates an issue with the upper lens or sealing.
3. Is upper lens replacement risky?
Yes. Improper handling can contaminate internal optics.
4. Can I clean instead of replace?
Only for minor dust. Burned or damaged lenses must be replaced.